
How do I run tests?
In Testuff, you can run tests using several methods across different pages:
- Tests page – choose the relevant test, hover over it with your mouse and a menu will appear. Click on the dot’s circle to Run the test. The Test Runner page will open, and you’ll be able to start running the steps. (Fig. 1)
Desktop Note: You can also right-click the test and select “Run” - Labs page – Simply click on the test’s name to open it in the Test Runner, and start executing it. If the test was assigned to someone else, it will automatically be reassigned to you.
- My Tasks page – All tests assigned to you, whether from labs or not, will appear here. Hover over the test, and click on the dot’s circle to run it, or simply click the test’s name.
- Requirements page – Hover over the test, and select run from the menu to run the test.
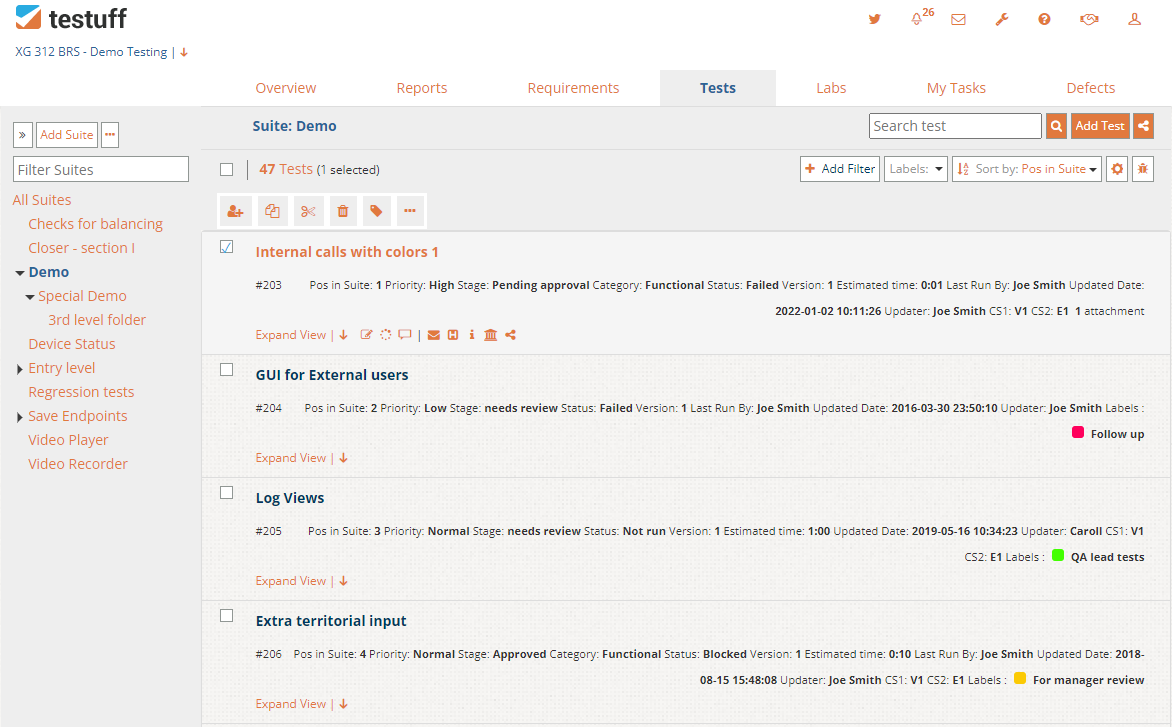 (Fig. 1)
 Check mark a test and a menu with several options will be displayed. You may either assign the test, or change the status topassed, failed, blocked, won’t-do, to give the test a status without running it step-by-step, and without opening the Test Runner.
Desktop-Client Note: Right-click a test, in any of the screens, to find the ‘run’ menu option for executing this test. In Labs and My-Tasks screens, you can double0click the test to run it.
Now that the test runner is open, what do I do?
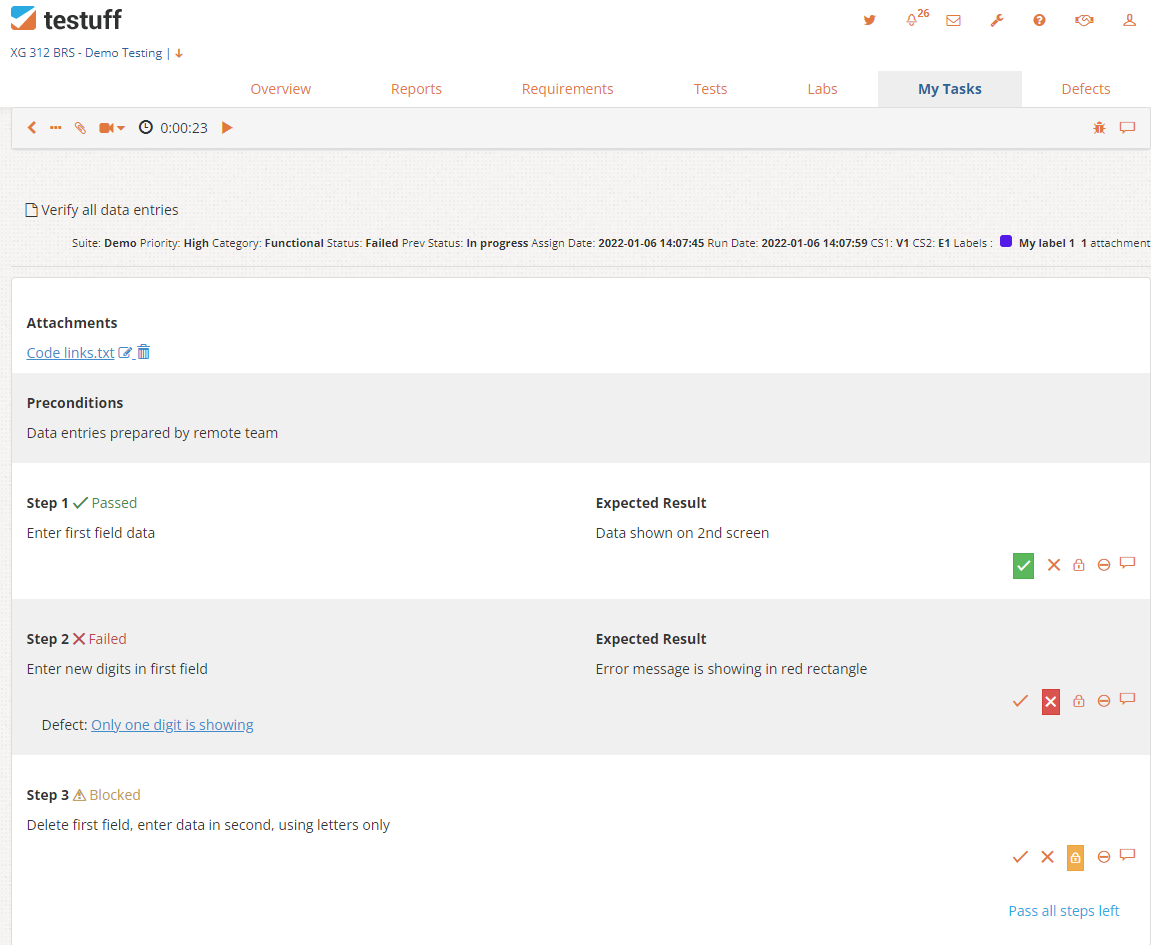
- Status of steps: Mark steps as either passed, failed, or blocked.
- Failed status: If you mark a step as failed the Defect Reporter will launch allowing you to report a defect, or Link an existing defect. If you don’t wish to report a defect, just close the Reporter. The step will remain marked as failed.
- If you mark a step as blocked, consider using the comments editor, from that step, to explain the reason for this status.
- Attach files: Using the clip icon, you can attach files to the test.
- Record video: The Test Runner also allows you to add videos to defect reports, so that you, or the developers, can see precisely how to reproduce the defect. Click on the three dots menu option and follow instructions.
- Managing Test Run Time: The test run time begins automatically when you open the runner and ends upon completion. If needed (e.g., for a break), you can pause the timer manually.
- View Information: Click the bulb icon on the top left to view additional information about the test, including defects and run history.
Can I edit a test during a test run?
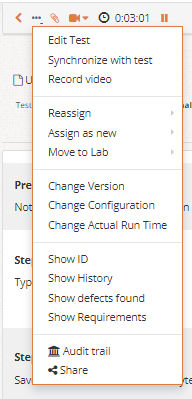
Yes. Click the three dots menu, and select the Edit Test option at top of the runner. Edit the test, and save it. The test run will change accordingly. Note that if you edit the test from a different location, such as the test tab, it won’t affect the test run unless you use the Synchronize with test menu option in the Test Runner.
Managing Comments
- Step-Level Comments:
- You can add a comment to a test step while running it, by clicking the comments icon:
 .
. - Use it to add information about load time, references you may want to add, or any other information you wish to keep with the test run – including screenshots and file attachments. All comments can be then viewed as part of the test history, and in the comments editor.
- You can add a comment to a test step while running it, by clicking the comments icon:
- Test-Level Comments
- To add comments at test level, not for a specific step, use the comment icon on top right of the Test Runner page.
- Comments list of a test, or a group of tests, can be printed to the browser or to Excel.
 .
.Run History
All executions (runs) of a test are saved in the test details, under its History. This allows you a review of all runs, including their specific details, and also enables you to re-run or re-assign any of them.